The use of hair dyes has become an essential beauty regimen for millions of individuals worldwide. Whether from home touch-ups to complete salon treatments, hair dyeing is both exhilarating and empowering. However, one problem that most of us have faced in our lives is the ring of hair dye stains that remains on our foreheads, necks, and ears. If you have been rubbing vigorously to remove the dark stain from close to your hairline after hair coloring, then you know what we are talking about. This article will give you all the information regarding the cause of the hair dye staining on your skin, preventive measures against the same, and cleaning tips.
WHY DOES THE COLOR FROM HAIR DYE STAIN YOUR SKIN?
Hair dyes have powerful coloring pigments combined with active substances like oxidizers and alkaline elements. They were made to open up the hair cuticle for easier penetration of color molecules inside. If applied on skin parts around the hairline, ears, and back of the head, the same pigments stick fast to your epidermis right away.
That particular area of skin is very thin and quite porous. The longer it stays there after drying, the harder it will be to remove.
THE OIL AND COTTON APPROACH: THE CLASSICAL TECHNIQUE THAT REALLY WORKS
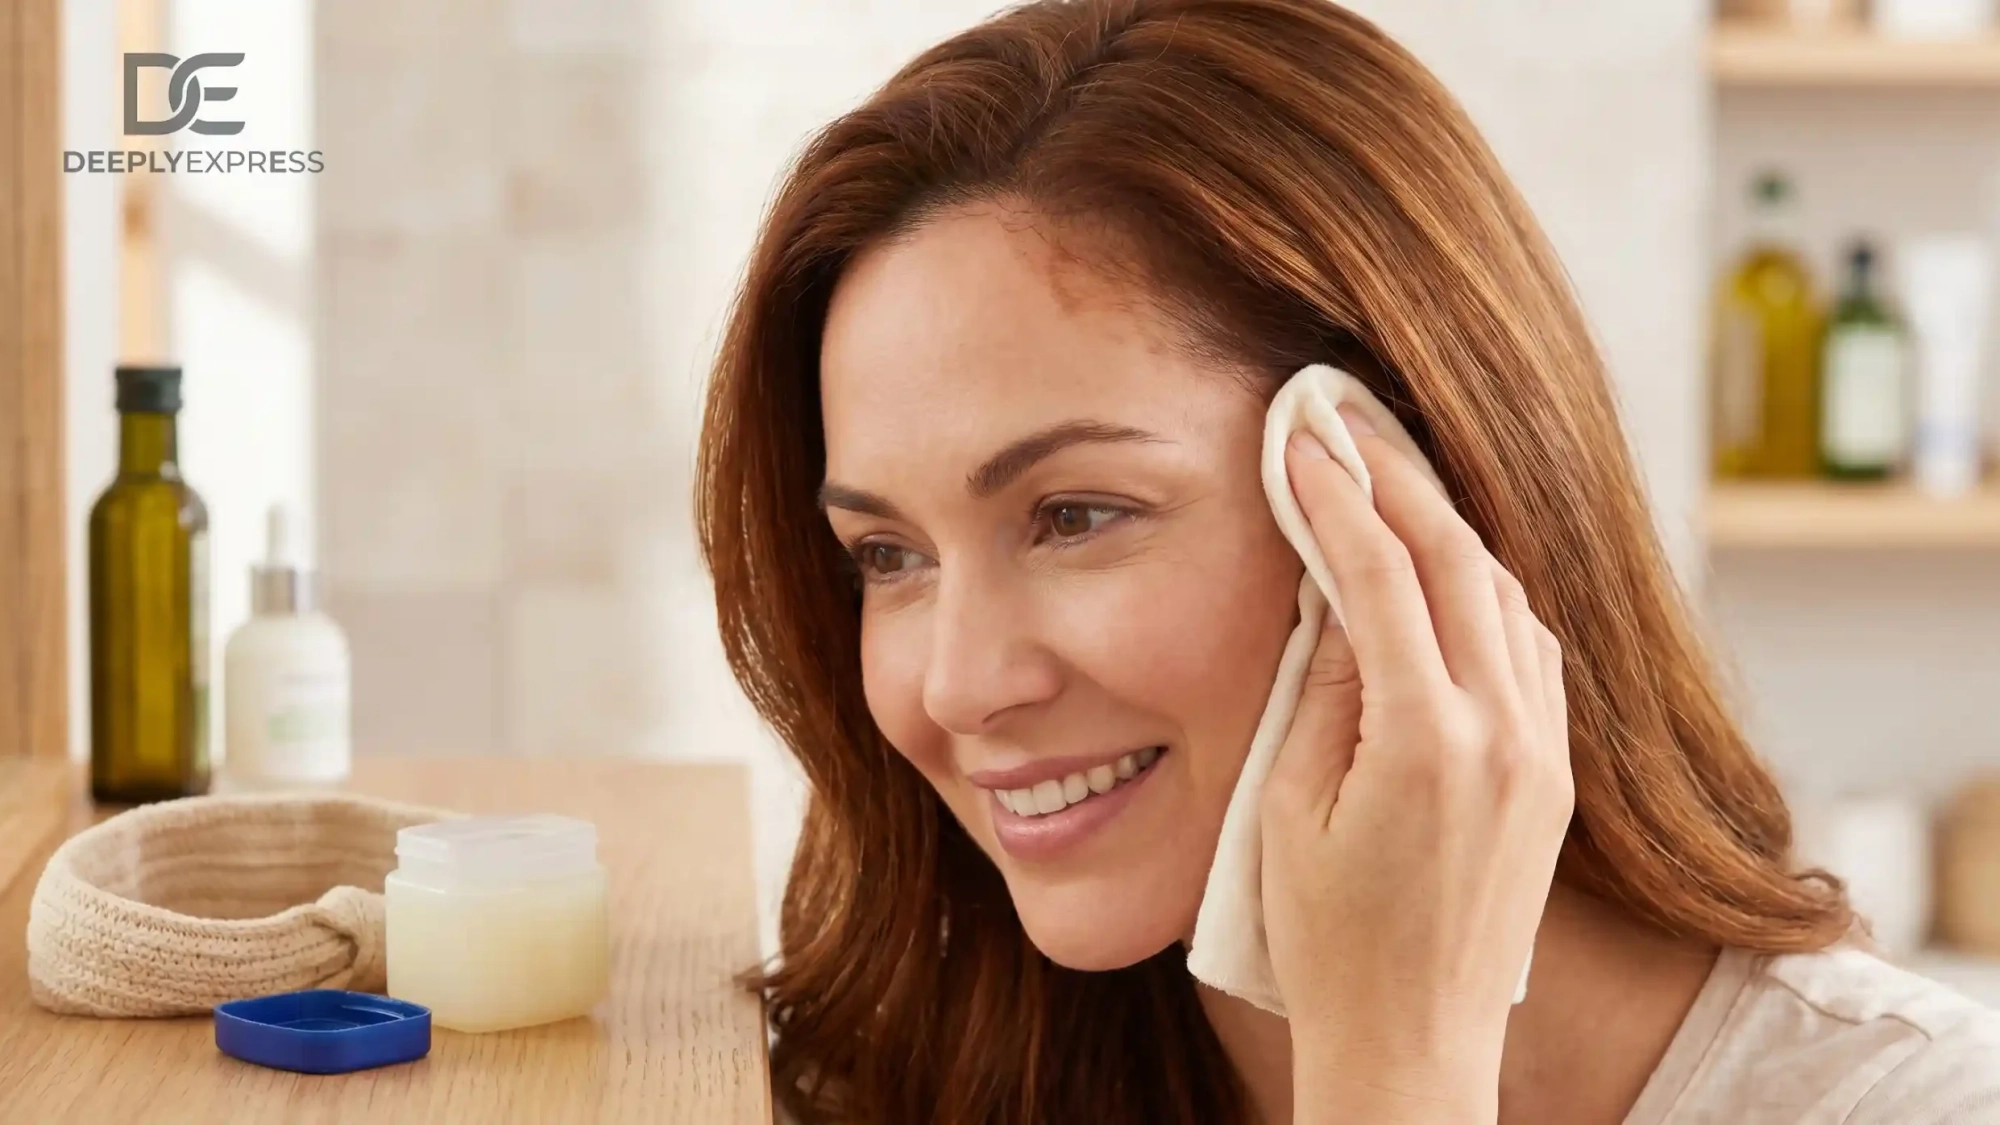
One of the most effective techniques of prevention was discovered by your grandmother. Apply some drops of a mixture of oil and water (such as baby oil or coconut oil) to a piece of cotton before dyeing your hair. Gently rub that cotton over the back of your neck, behind the ears, and your forehead where your hair grows.
In this way, you create a layer that prevents the dye from sticking to your skin. All you will need after that is to wipe this area of your face with a damp cloth.
This approach is quite classical. Oils create a barrier between your skin and dye and do not influence the process of dyeing your hair in any way.
MORE TIPS BY EXPERTS TO SAFEGUARD YOUR SKIN FROM GETTING DYED
USE PETROLEUM JELLY: It is common practice among dermatologists and stylist professionals to suggest applying a light coat of petroleum jelly on the hairline prior to the process of coloring. This method uses its thick texture to serve as a barrier between the dye and your skin. Apply this with the help of a cotton swab.
WEAR GLOVES: Hair dyes often come in packs containing gloves to be worn during the process. However, if your pack lacks them, you could use rubber gloves to prevent staining of the hands and nails.
USE A TOWEL/HEADBAND: To catch all the dripping color in one place, a cloth headband should be placed right under the hairline.
APPLY WITH PATIENCE: Rushing the whole process increases chances of stains because dye splatters all over due to the haste in which you apply it. This is why you must move slow and steady.
USE MODERN FORMULAS: Shampoo formulas and ammonia-free products are designed to minimize staining of the scalp and skin.
HAIR DYE REMOVAL METHODS IN CASE OF STAINING
Despite preparation, there are chances of getting your clothes stained by hair dye. Here are some safe and efficient ways to remove them.
OIL-BASED PRODUCTS LIKE BABY OIL OR COCONUT OIL: Apply the product directly to the stain and allow it to sit for a couple of minutes before gently cleaning the stain with a cloth.
A MIXTURE OF BAKING SODA AND DISHWASHING LIQUID: Combine an equal number of parts and use the paste to scrub the stain. This method works best for new stains.
RUBBING ALCOHOL: Use a little rubbing alcohol to clean the stain with a cotton pad. Since alcohol tends to dry out the skin, use a moisturizer after the procedure.TOOTHPASTE: Apply white toothpaste to the affected area and rub the stain off using circular movements.
FINAL THOUGHTS ON PROTECTING YOUR SKIN FROM HARM
Remember to always conduct a patch test prior to application of a new hair coloring product. This involves applying the color to an inconspicuous area of your body, such as behind your ear or your inner arm, and waiting for 48 hours before looking for any skin reactions like redness or itchiness.
Coloring your hair may be an enjoyable activity, but a little preparation will make the experience more efficient and stress-free.
Leave A Comment